Want to learn more about landscape photography techniques? Check out our course ‘Simply Stunning Landscapes’ here! [ExpertPhotography is supported by readers. Product links on ExpertPhotography are referral links. If you use one of these and buy something, we make a little bit of money. Need more info? See how it all works here.]
9. Discover the Beauty of Black and White Landscape Photography
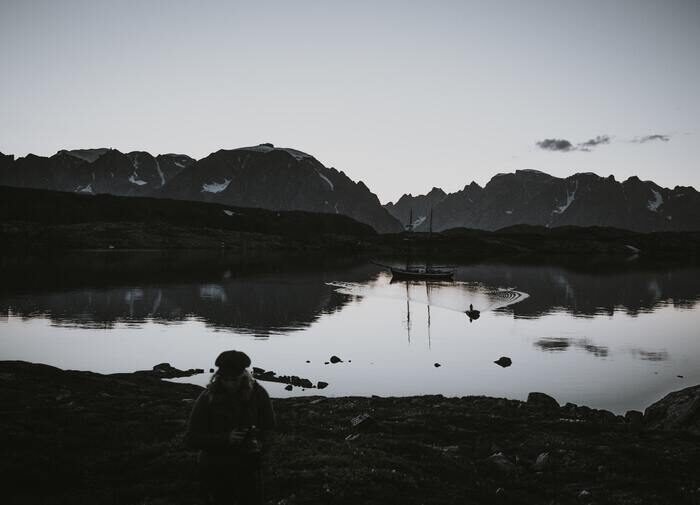
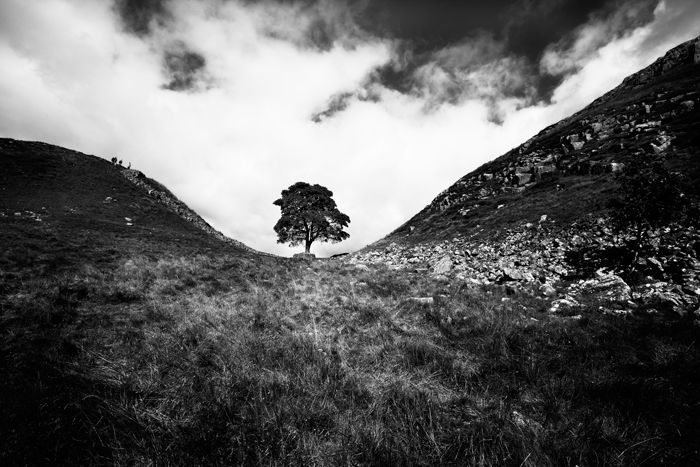
Color shows us a place as it is. Black and white has a pure and timeless quality. You might have yet to try your hand at this exciting form of photography. Or you might be looking for some advice on how to get the most out of your time in the wilderness. I’ve come up with a list of some of my favourite tips below. There’s nothing better than heading out at the crack of dawn. Or even earlier, to photograph your favourite location. Even better if it’s bathed in the soft glow of the golden hour, that all too brief period at the start and end of the day. The golden hour might be the key to a great color image. But for those of us wanting to create stunning black and white landscape shots, we need to think in a different way. In black and white landscape photography, the golden hour is no longer the golden rule. That gorgeous orange cast over your scene becomes reduced to a series of greys. This will create a scene that has lost all its dramatic impact. Instead, you have produced a flat, uninspiring monochrome image. So, if you can’t rely on color to make your photograph for you, what do you use instead?
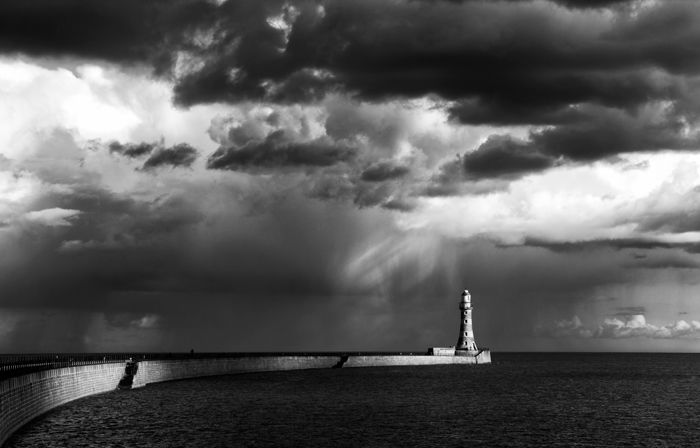
8. Accentuate Contrast
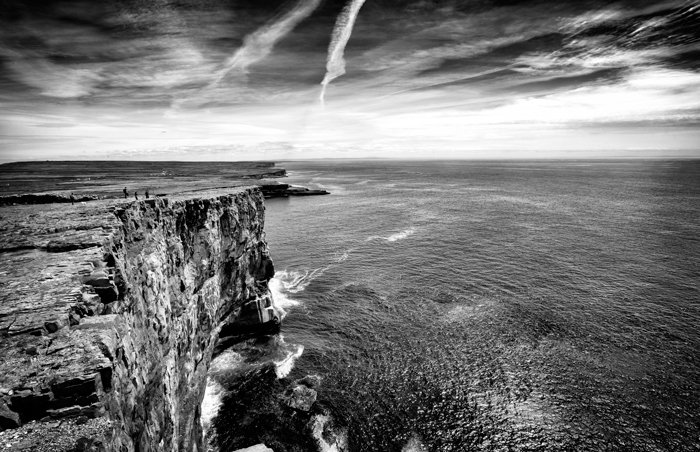
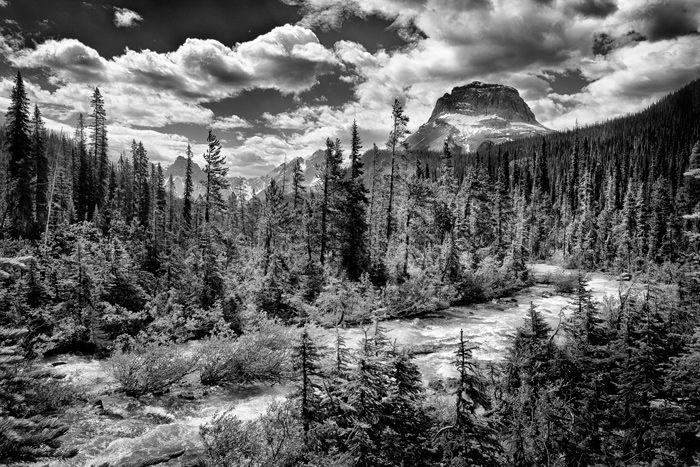
The best black and white landscapes have a strong range of tones. From almost pure white through to deep, rich black and everything in between. That contrast across the image, when used well, can produce some striking results. But we are used to seeing the full spectrum of colors. It takes a little effort to train our brains to think about a scene based on highlights and shadows. That doesn’t mean disregarding the colors in front of us altogether. With experience, you will see start seeing how an image translates in B&W. How the hue of certain elements, such as green grass, means different contrasts in black and white images.
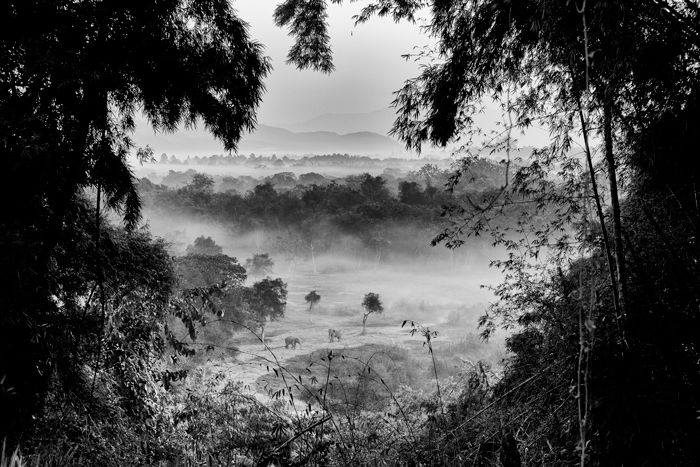
7. Look for Interesting Textures
The world around us is full of texture, both the natural as well as the man-made aspects of it. In black and white landscape photos, we can use the difference in texture. For example, something in-between, say, a craggy cliff face and a smooth sea. This helps to create another sort of contrast. Strongside lighting, or even backlighting, can emphasise the texture of an object.
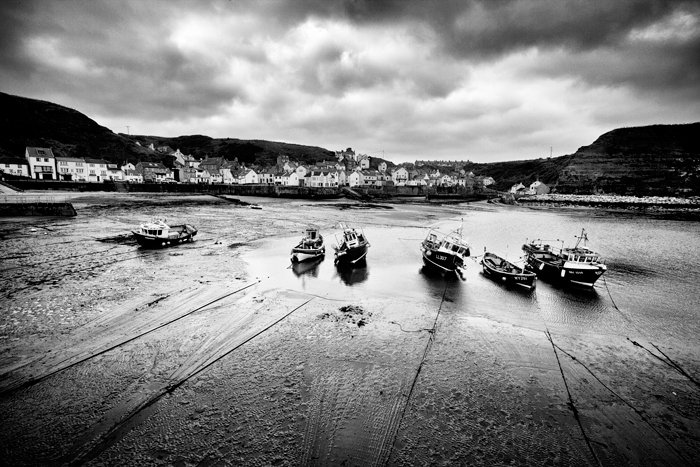
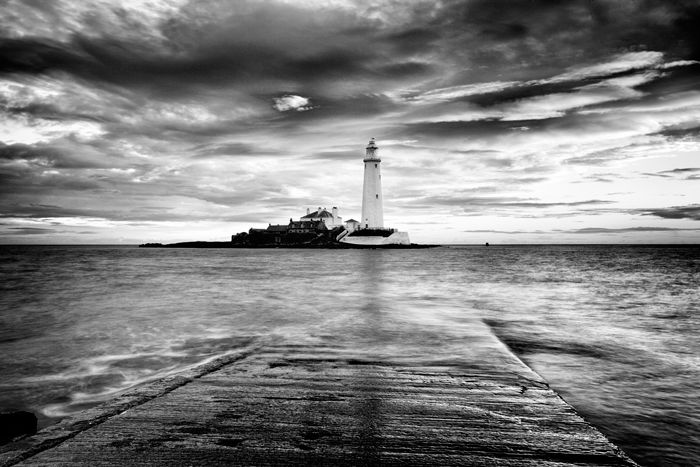
6. Pay Attention to Composition
The rules of composition still apply. Whether you’re shooting color or black and white landscape photos. Leading lines, patterns, natural framing, placing the horizon, and varying your viewpoint. These are all things to keep in mind when framing your shot. But when shooting monochrome, there are other important things too. You should be thinking about how the tones of the scene in front of you will look in the final image. Each color will be represented by a different shade. And hitting a pleasing balance across each element will make for a more successful result. Also, don’t be afraid to experiment with portrait format. Let the scene dictate what will look best.
5. Learn About The Zone System
You’ll no doubt have heard of the zone system. If you haven’t, I’m sure you’ll recognise the name of the man who invented it. Ansel Adams. Equal parts artist and scientist. He developed the zone system in the 1930s. It was a way to exercise complete control over the tones in the images he was producing. To do so, he divided each scene up into ten zones, with pure black being zero and pure white being ten. Standardising the process meant capturing the right exposure in any lighting conditions. He identified the darkest zones in a scene. This helped his black and white landscape photography. It meant that those shadow areas would keep some detail through careful exposure. Here, he was able to manipulate his negative and print developing. He made sure the highlights would also retain details. The zone system is as relevant today as it was all those decades ago. But with digital photography, we need the highlights in a scene. Adams’s black and white film had a finite dynamic range. So do the sensors on our digital cameras. He exposed his landscapes to save the shadows. And he pulled the brightest areas back with filters and darkroom magic. We need to do the opposite. Expose to keep the brightest parts of your image intact. This way you can save the shadows in post-production. We also have a few advantages Ansel Adams couldn’t have even dreamed of. Most DSLRs have shadow and highlight warnings on the LCD image. These blink when a scene is straying outside the boundaries the sensor can cope with. Even better, you have the histogram. This gives you an at-a-glance visual representation of the tonal value of your shot. You’re able to assess if you need to adjust your exposure.
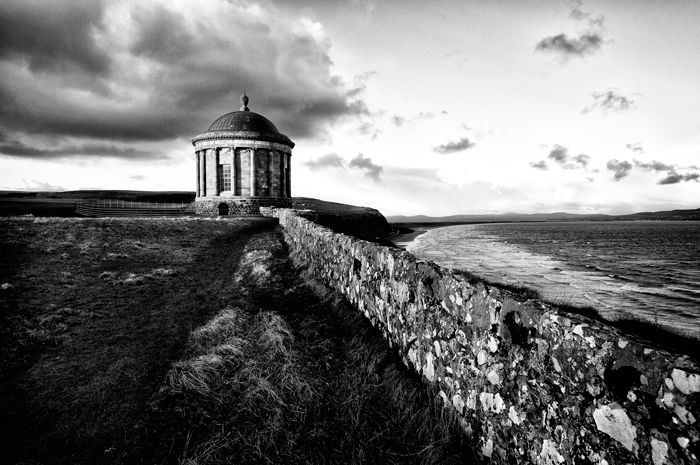
4. Use Filters Smartly
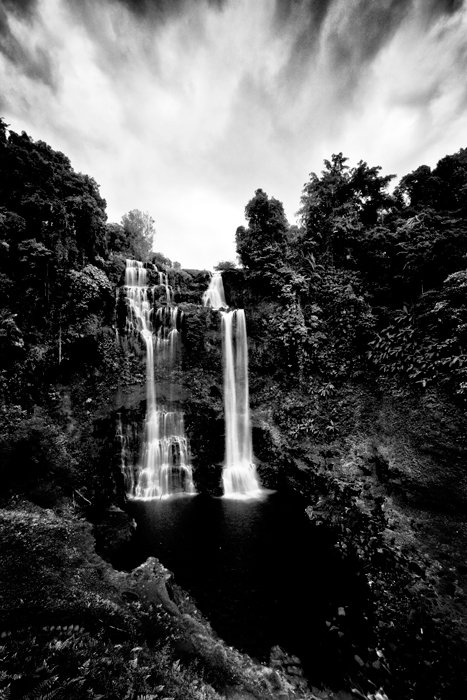
You will often need to use filters. This will get the best tonal range in your black and white images. Especially if the scene is a particularly high contrast one. A bright sky above a dark ground can give a dynamic range outside the latitude your sensor can deal with. Fit a graduated neutral density filter over your lens while you’re shooting. This will balance the two elements. And it will give an image that retains detail in both highlights and shadow. These filters are opaque at the top, fading to clear at the bottom. They cut down on the amount of light reaching the sensor from the sky. And allow the exposure for the ground to stay the same. They are available in different strengths and are a godsend on those bright, sunny days. Every black and white landscape photographer should also have a range of non-graduated filters. These are uniformly grey and reduce the amount of light passing through the whole of the lens. Use them to increase exposure times across the entire scene. They are often used when photographing moving elements in a landscape photograph. Consider the effects of a long shutter speed on, say, the ocean. The water becomes beautifully smooth and gives a wonderful aesthetic quality.
3. Convert Your Images to Black and White in Post-Processing
Many DSLRs have a monochrome mode, allowing you to shoot images in black and white in camera. It can be a useful tool when you’re pre-visualising a scene. But I would always recommend shooting in RAW wherever possible. You can then convert that file to black and white in post-production. Having a RAW color image gives you a lot more options when it comes time to perfect your shot. In Photoshop, the black and white adjustment is a great option. It gives you a decent amount of control over the tones in your images. Playing around with the sliders also helps. It will show how different colors appear in a monochrome image. For a greater level of creativity, I’m a big fan of the Silver Efex Pro 2 plugin from Nik. You can alter every part of your image. You can darken certain elements or change contrast wherever you like. There are also 20 presets that emulate the effects of some of the most popular black and white films. These range from Ilford Pan F technical film through to the ultra-grainy Kodak P3200 TMAX Pro. It’s an impressive platform and well worth a look.
2. Experiment with Different Settings
Setting a small aperture will help you keep your shot in focus from front to back. Of course, there will come times when you may want to blur certain parts of a shot for creative reasons. So play around with different depths of field until you get the look you want. Beware of diffraction, which is a loss of sharpness that can occur at very small apertures. In general, diffraction starts to come into play around f/22 and smaller. Lenses vary, though. Experiment to see how small you can get your aperture. I would always recommend shooting with as low an ISO as possible to maintain image fidelity, too. Using a very fast film could give some interesting grainy effects. But a high ISO shot on a DSLR will have a lot of ugly digital noise. Black and white landscape photography allows for longer shutter speeds. Unless you want to freeze action in your shot, you can set a shutter speed that gives you the exposure you want. You can coordinate this and also keep the ISO low and aperture small.
1. Find the Perfect Equipment for Black and White Photo Shoots
Tripod
Between a low ISO and a small aperture, there won’t be a huge amount of light making its way onto your sensor. That usually adds up to a longer shutter speed. One that prohibits handheld shots, so a sturdy tripod is going to be essential. You could well be hiking a fair distance before you reach the ideal spot to shoot from. Find a good compromise between strength and weight. The lightest, strongest tripods around today are from carbon fiber. But they are at the more expensive end of the market. Aluminum models from the likes of Manfrotto are a little heavier. But they are plenty sturdy enough and won’t break the bank. Most tripods come with a built-in spirit level. This ensures your horizons are straight. If your tripod doesn’t, it’s well worth investing in one. [Read through our in-depth guide to choosing tripods for landscape photography for more information and recommendations.]
Lenses
Wide angle lenses are the most popular choice for black and white landscape photographers. On a full frame DSLR, my Nikon 18mm-35mm is enough coverage for most situations. I have a Nikon 24mm-70mm when I want to single out a particular element in a scene. In a perfect world, I’d have a range of fixed prime lenses for the very best image sharpness. More often than not, a good quality zoom lens is almost as good. Almost.
Bag
This is one of the best things about landscape photography in black and white. You only need to haul about a small amount of kit. The right accessories will always help. But there’s no real need for flashguns, remote triggers or cumbersome telephoto zooms. Everything you need is this: camera, lenses, cards, filters and a spare battery. And it will fit in a backpack style camera bag, and leave you room for a few snacks! Strap a small, lightweight tripod onto the back and you’re good to go. Make sure you have a decent pair of hiking boots too. It’s an unwritten rule that the farther you have to walk to get your shot, the better it will be!
Conclusion
The earliest photograph ever taken was a black and white landscape. Since then, photographers have turned this photography niche into an art form. Great black and white landscape photos have a real elegance about them. Do it enough and you’ll soon be making some stunning landscape photography of your own. Check out our editing tips for black and white photography too!